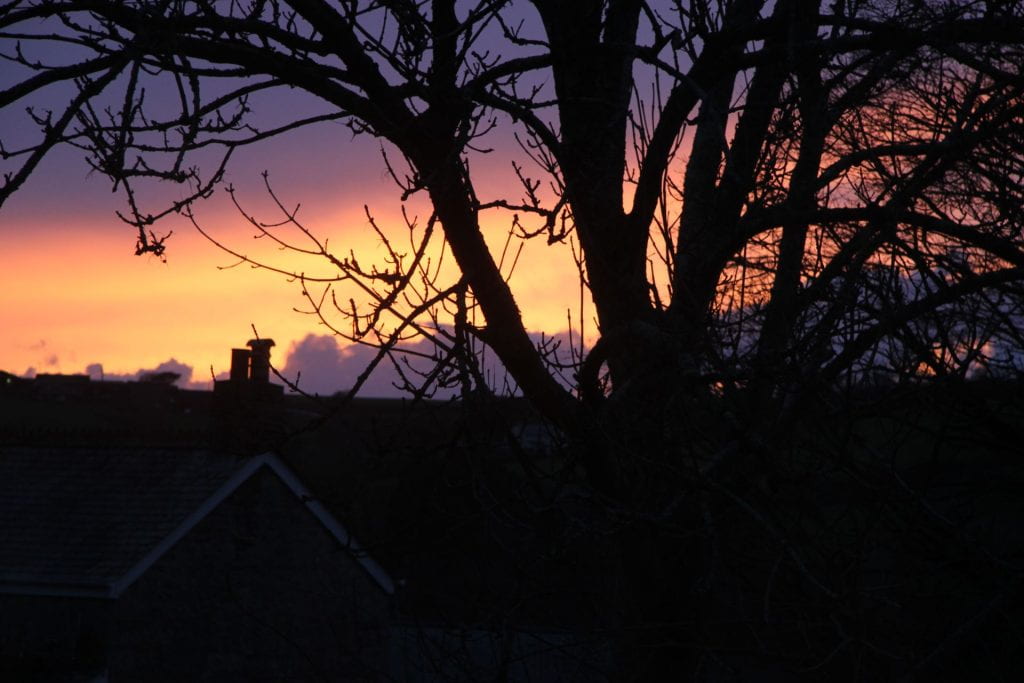
1) my first focus is line.
In photography, the formal element of line in photography, it refers to the way lines are used in structures and to guide the viewer’s eye within an image, for instance train tracks. Lines can be real or implied and play a crucial role in creating visual idea of straight
There are several types of lines in photography:
- Straight Lines: These convey stability, order, and structure. Vertical lines (such as buildings or trees) evoke strength and power, while horizontal lines (like horizons) suggest calmness and tranquility. Diagonal lines often create a sense of movement or dynamic energy.
- Curved Lines: These offer a more fluid, graceful feeling. Curves can lead the viewer’s eye through the composition, creating a sense of rhythm or elegance. They often evoke softness or a sense of natural beauty, like the curves of a road or the shape of a river.
- Implied Lines: These are not physically present in the image but are suggested by the way elements are arranged. For example, the alignment of objects or the direction in which people or animals are looking can create an implied line that guides the viewer’s focus.
examples with my own photos:


2) my second focus is on shape.
In photography, shape refers to the two-dimensional contour or form of an object, which can be defined by its boundaries. Shapes play a fundamental role in creating structure and visual interest within an image, and they can be geometric or organic in nature.
There are several key aspects of shape in photography:
- Geometric Shapes: These are regular, precise forms such as circles, squares, triangles, and rectangles. Geometric shapes tend to convey order, symmetry, and a sense of clarity. For instance, a perfectly round object like a clock or a triangular mountain can create strong visual impact through their clean, sharp lines.
- Organic Shapes: These shapes are irregular and often appear in nature. Organic shapes are curvilinear, flowing, and less predictable, such as the shape of leaves, clouds, or human figures. These shapes evoke a sense of natural beauty, fluidity, and softness, often bringing a more dynamic or emotive quality to the photograph.
- Positive and Negative Shapes: The shape of the subject (positive shape) is often contrasted against the space around it (negative shape). The interplay between positive and negative shapes is vital in composition. A photograph with strong negative space can emphasize the subject and create a sense of minimalism, balance, or isolation.
- Abstract Shapes: These may not represent recognizable objects but can still be visually striking. Abstract shapes, created through shadows, reflections, or unusual angles, can add a sense of mystery or intrigue to an image.
The manipulation of shape within a photograph helps to define the composition and visual flow. Shapes can be used to create patterns, emphasize contrast, direct focus, and add a sense of harmony or tension, influencing the mood and meaning of the photograph.
examples with my own photos:


3) my third focus is on form.
In photography, form refers to the three-dimensional quality of an object, and how it is represented through light, shadow, and perspective in a two-dimensional image. Form gives objects depth, volume, and texture, allowing them to appear more realistic or sculptural. It differs from shape, which is purely two-dimensional, by adding the illusion of depth and dimension.
Key aspects of form in photography include:
- Light and Shadow: The interplay between light and shadow is critical in defining form. Lighting that creates highlights and shadows can reveal the contours, edges, and volume of an object, transforming a flat shape into something that feels three-dimensional. For example, side lighting on a textured surface can create strong shadows, emphasizing the form and depth of the object.
- Perspective and Angles: The way a subject is photographed—from different angles or viewpoints—affects how its form is perceived. A high angle can compress the form, while a low angle might make the subject appear more imposing. Additionally, the use of perspective, such as lines that converge toward a vanishing point, can enhance the feeling of depth and dimensionality.
- Texture and Surface Detail: The texture of an object contributes to its form by suggesting how it might feel in real life. Rough surfaces create a sense of depth through their irregularities, while smooth surfaces tend to highlight the sleekness and fluidity of an object’s form. Photographers often use close-ups or macro photography to accentuate the texture and form of a subject.
- Volume and Mass: Form is closely tied to the perception of volume and mass, helping to give objects weight and presence in the photograph. A well-lit object can appear solid, heavy, or light, depending on how its form is captured. For example, the rounded form of a fruit, like an apple, can appear full and tangible when illuminated properly, showing its curves and volume.
By emphasising form, photographers can create a more lifelike or sculptural representation of subjects, enhancing the three-dimensional quality of a photograph and influencing how viewers interact with the image. Form brings depth and realism to photography, providing a sense of space and substance to otherwise flat pictures.
examples with my own photos:


4) my 4th focus is on pattern
In photography, pattern refers to the repetition of shapes, lines, colors, textures, or forms that create a visual rhythm or structure within an image. The use of patterns can help add visual interest, create unity, and lead the viewer’s eye across the composition. A strong pattern can draw attention, guide focus, and even evoke a sense of order or chaos depending on how it’s used.
- Architectural Patterns:
- Example: A photo of a building with rows of windows or a wall with a consistent grid of tiles. The repeated geometric shapes create a structured pattern that gives the image a sense of rhythm and uniformity.
- Photographic Impact: This type of pattern can emphasize the regularity of man-made structures and draw attention to the lines and shapes that make up the building.
- Nature Patterns:
- Example: A close-up shot of a sunflower with its petals radiating outward in a circular, repeating pattern. Or, the scales on a fish or the bark on a tree.
- Photographic Impact: Nature is full of natural patterns, and photographing these repeating forms can show the beauty and balance found in the natural world.
- Textural Patterns:
- Example: A photograph of a sand dune with ripples formed by the wind or a close-up of a fabric with repeated woven patterns.
- Photographic Impact: These patterns create visual texture and add depth to an image, making it feel tactile or dimensional.
- Patterns in Everyday Objects:
- Example: A shot of a tiled floor, where each tile forms part of a larger repeating grid. Or a collection of bottles in a store with their identical shape and alignment.
- Photographic Impact: By isolating these repetitive elements, the photographer can transform an ordinary scene into something visually striking and orderly.
- Human-Made Patterns:
- Example: A row of parked cars, each one identical or similar in shape and color, forming a repetitive pattern on a street.
- Photographic Impact: Such patterns can reflect the repetitive nature of human behavior or the structures we build in our environment.
In all of these examples, the use of pattern in photography helps organise the visual space and provides an aesthetic quality that can be both pleasing and compelling to the viewer. The photographer’s ability to isolate, highlight, and compose these patterns can greatly influence the overall impact and mood of the image.
some of my own examples:


images inspired by saul lieter


my 5th focus is on tone.
In photography, tone refers to the range of lightness and darkness in an image, as well as the overall contrast and mood it conveys. It is one of the fundamental formal elements that influences the visual impact and emotional response of a photograph. Tone is typically determined by the exposure settings, lighting conditions, and post-processing techniques used to manipulate highlights, midtones, and shadows.
Light tones (bright highlights) can evoke a sense of clarity, openness, or optimism, while dark tones (deep shadows) can create a mood of mystery, drama, or tension. The tonal range of a photograph—the spread of tones from the lightest to the darkest—plays a key role in defining the composition. A high tonal contrast, where light and dark areas are sharply distinct, can lead to a bold, striking image, whereas low contrast, with subtle transitions between light and dark, may produce a softer, more harmonious feel.
In black-and-white photography, tone is especially important because it is the primary means of conveying depth, texture, and detail in the absence of color. In color photography, tones are also influenced by the color palette, with warmer tones (such as reds, oranges, and yellows) typically creating a sense of warmth or intimacy, and cooler tones (blues, greens, and purples) evoking calm or distance.
Overall, tone is a powerful tool in shaping the atmosphere, visual interest, and emotional narrative of a photograph.


my 6th focus is colour.
In photography, color is a fundamental formal element that plays a crucial role in shaping the emotional tone, mood, and meaning of an image. It refers to the range of hues, tones, and shades that appear in the photograph, influenced by factors such as lighting, camera settings, and post-processing techniques.
Here are some key aspects of color in photography:
- Hue: This is the pure colour itself, such as red, blue, or yellow. Hue defines the basic identity of the colour in an image.
- Saturation: This refers to the intensity or vividness of a colour. Highly saturated colours are rich and bold, while desecrated colours appear more muted or faded. Saturation can have a significant impact on the mood of the photograph.
- Value (Brightness): This is the lightness or darkness of a colour. A colour’s value can affect the overall contrast in an image, contributing to its depth and clarity.
- Colour Temperature: Colour temperature refers to the warmth or coolness of the light source in the image. Warm colours (like reds and oranges) can evoke a feeling of warmth and energy, while cool colours (like blues and greens) may create a sense of calm or distance.
- Complementary Colours: These are pairs of colours that are opposite each other on the colour wheel (e.g., red and green, blue and orange). When used together in a photograph, complementary colours can create striking contrasts and visual harmony.
- Colour Harmony: This concept is about the pleasing arrangement of colours in an image. Photographers use various colour schemes like monochromatic (one colour), analogous (colours next to each other on the colour wheel), or complementary to create visual interest and balance.
- Psychological Impact: Colours can evoke emotions and influence the viewer’s perception. For example, blue may convey calmness or sadness, while red can signify passion, danger, or energy. The careful use of colour can guide how the viewer interprets the photograph.
- Cultural Significance: Different cultures assign different meanings to colours. For instance, in Western cultures, white is often associated with purity or weddings, while in some Asian cultures, it may be linked to mourning. Photographers may use colour intentionally to convey specific cultural or symbolic meanings.
In summary, colour in photography is not just an aesthetic choice; it’s a powerful tool for influencing mood, conveying emotion, and shaping the viewer’s interpretation of the image.


7) my 7th focus is texture
in photography, focus refers to the process of adjusting the camera lens to achieve maximum sharpness and clarity for the subject of an image. This adjustment ensures that the subject appears crisp and well defined, drawing the viewer’s attentions effectively.
achieving proper focus involves aligning the cameras lens elements so that light hits the camera sensor properly, forming a sharp image of a subject
autofocus (AF) the camera automatically adjusts the lens to bring the subject into sharp focus
manual focus (MF) the photographer manually adjusts the lens focus ring to achieve the desired sharpness
My pictures for texture: